Rosemont: A closer look, part two

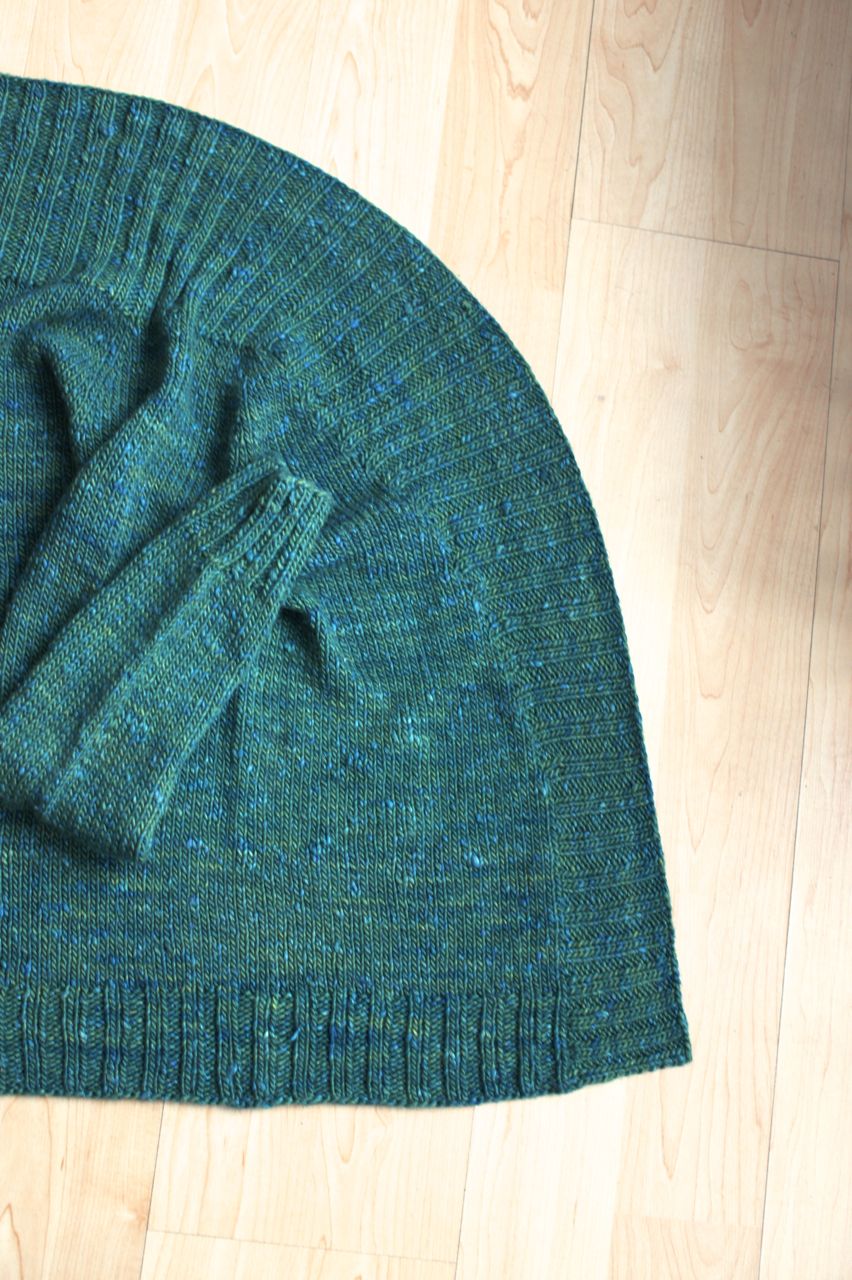
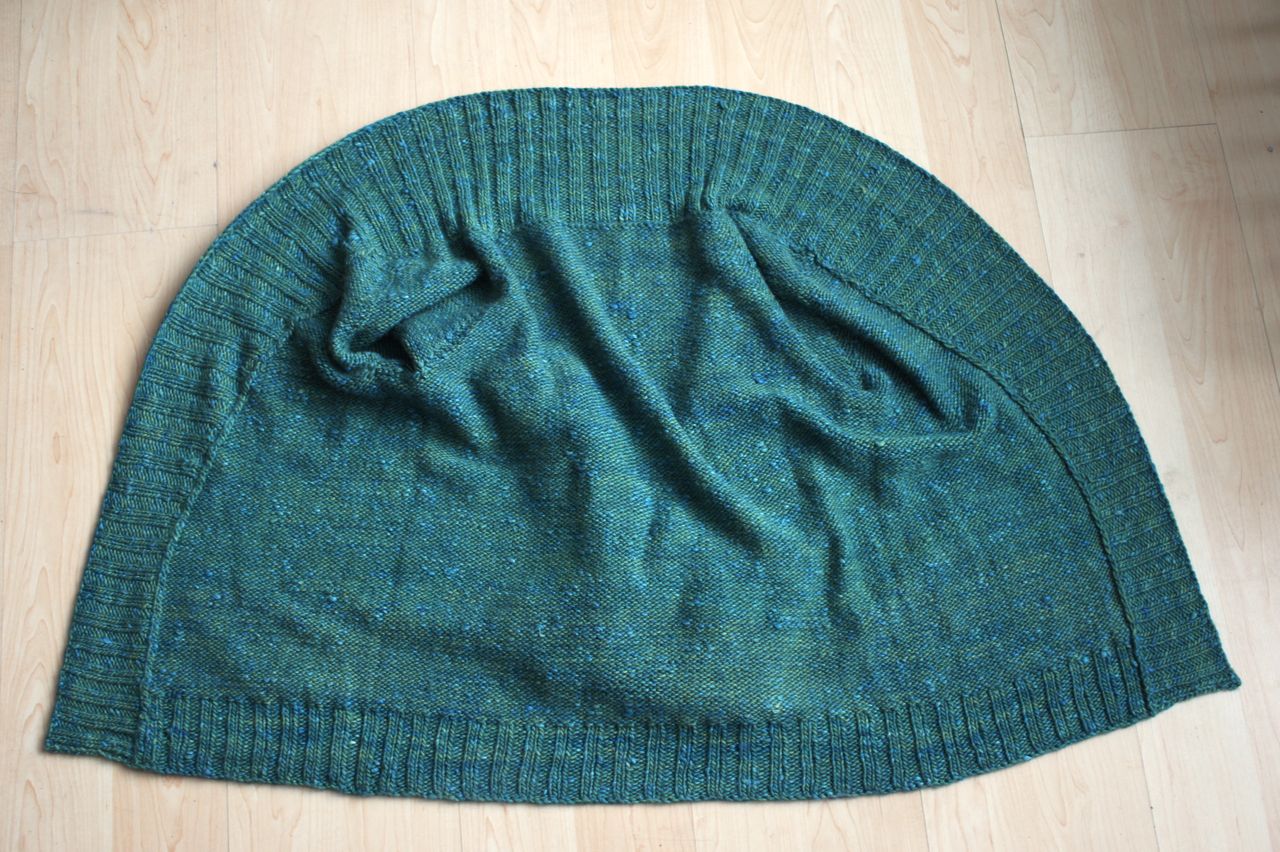
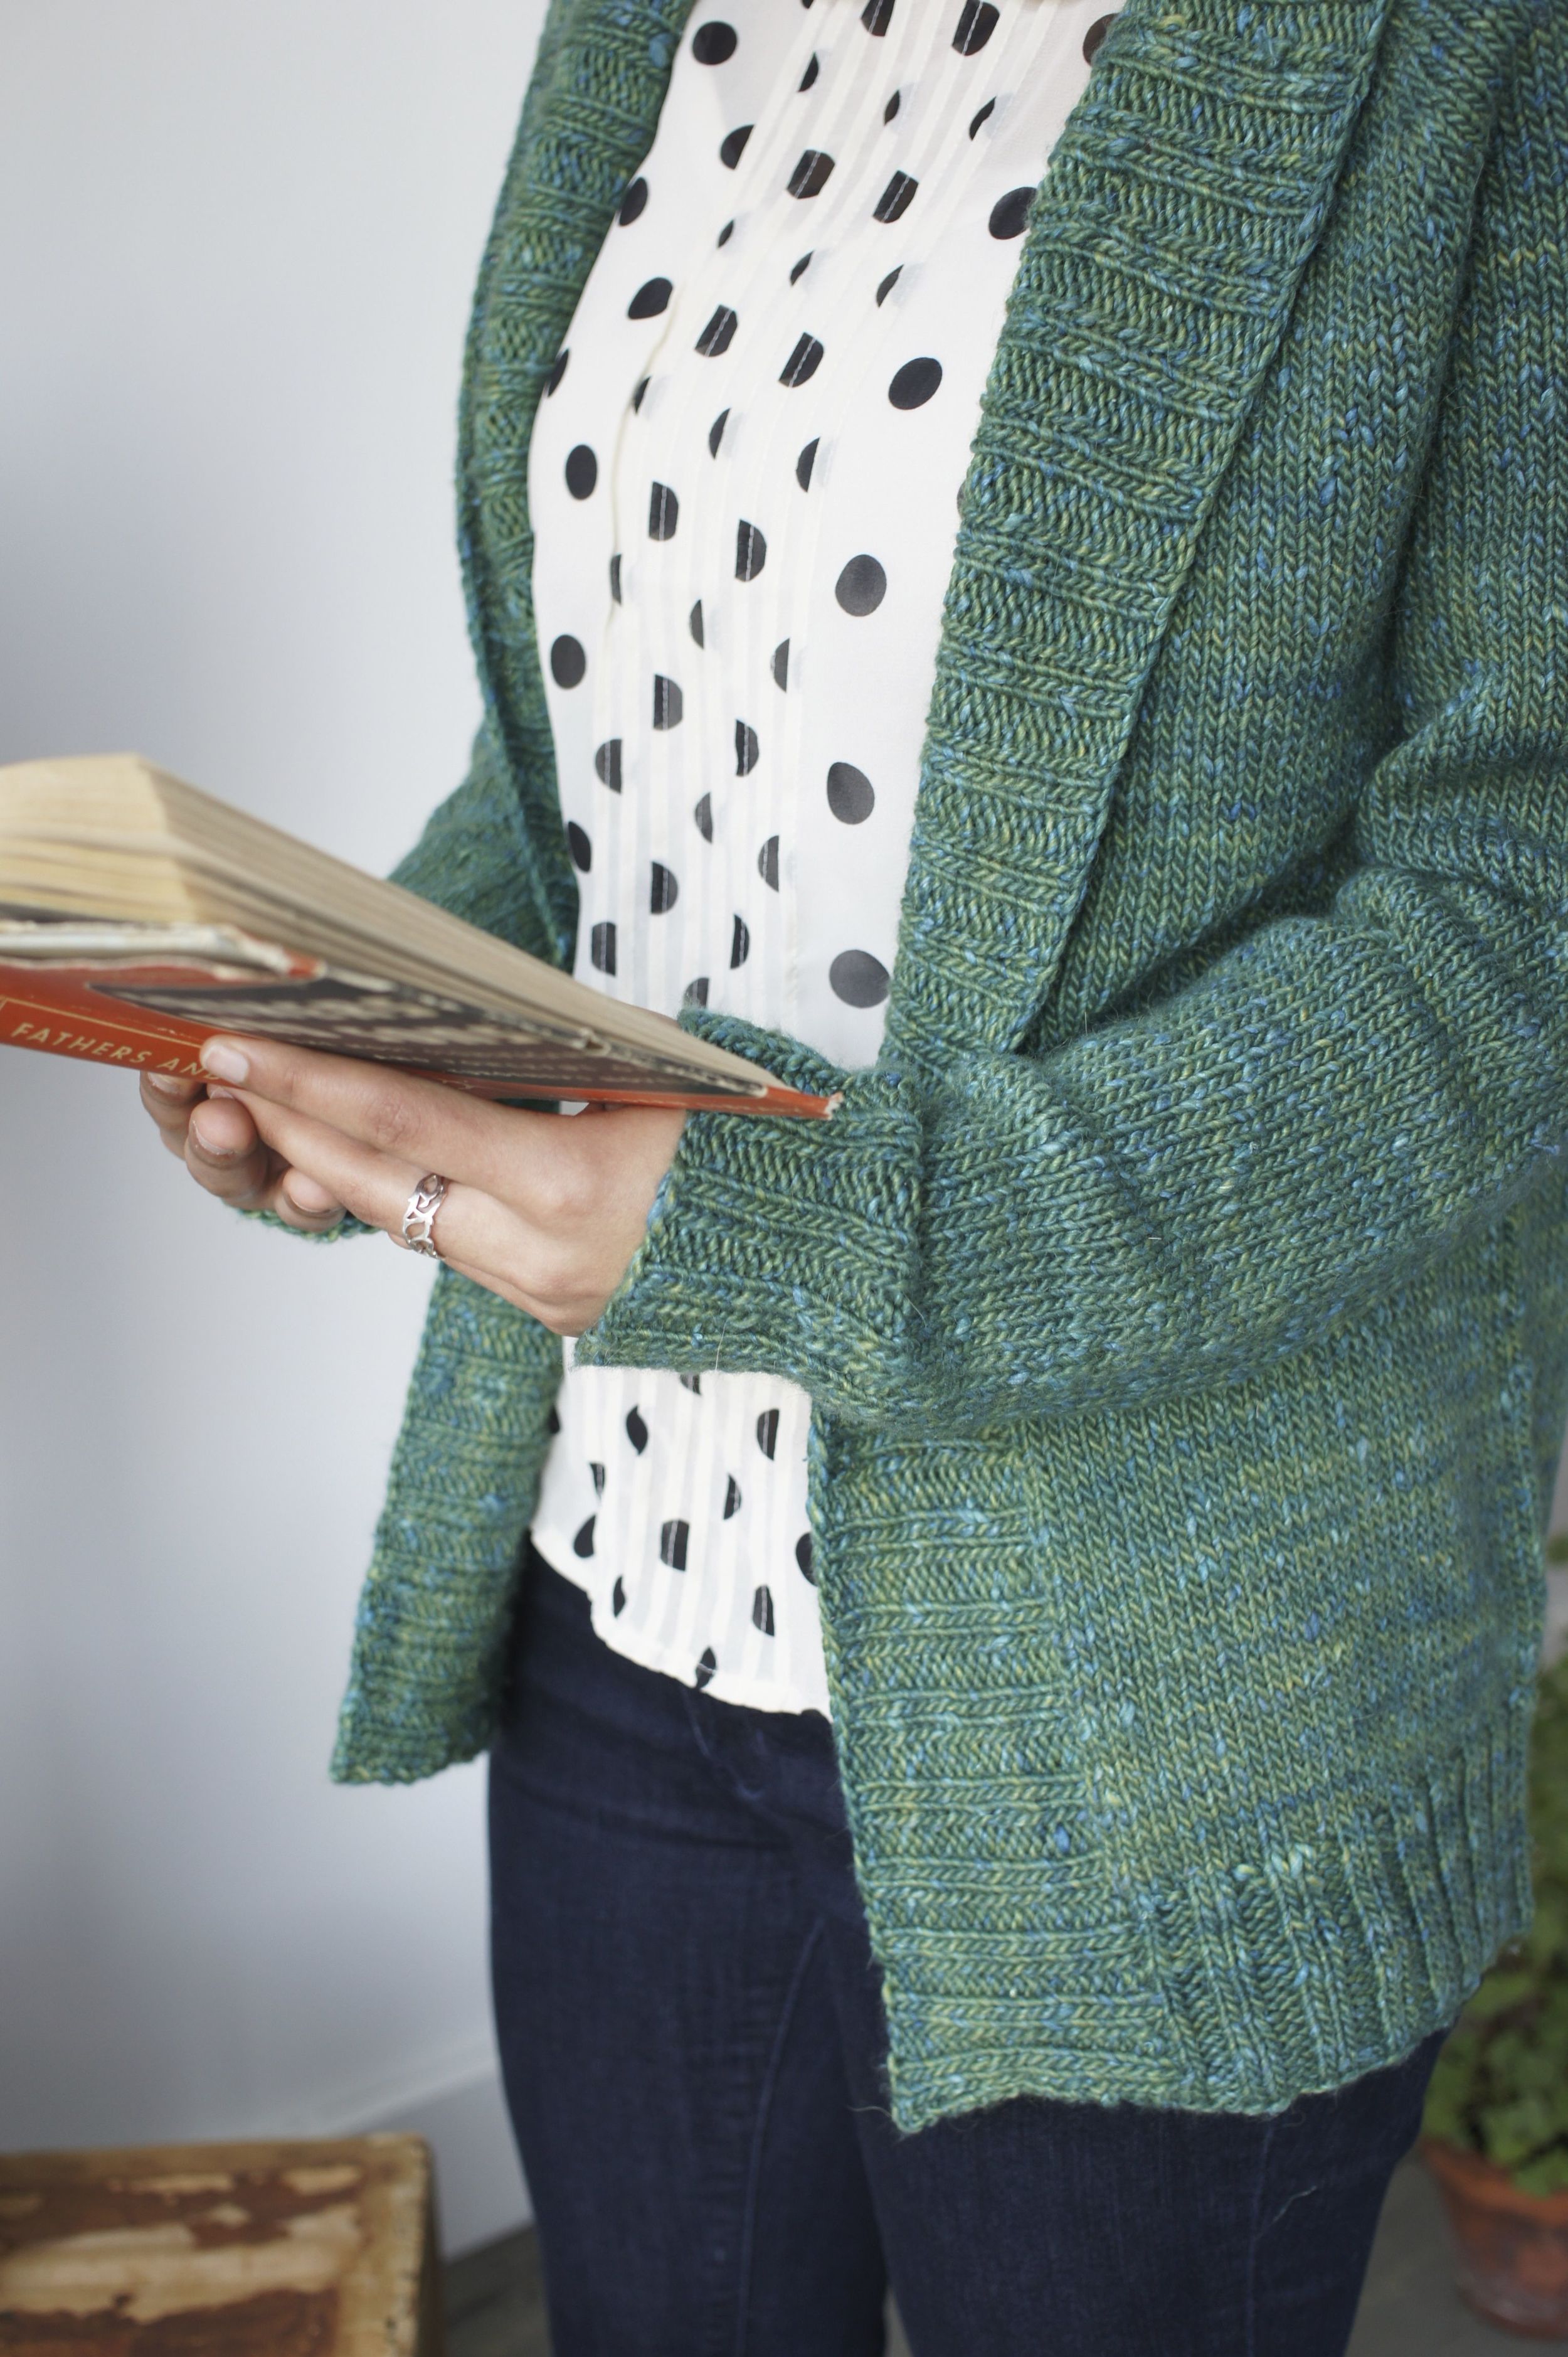
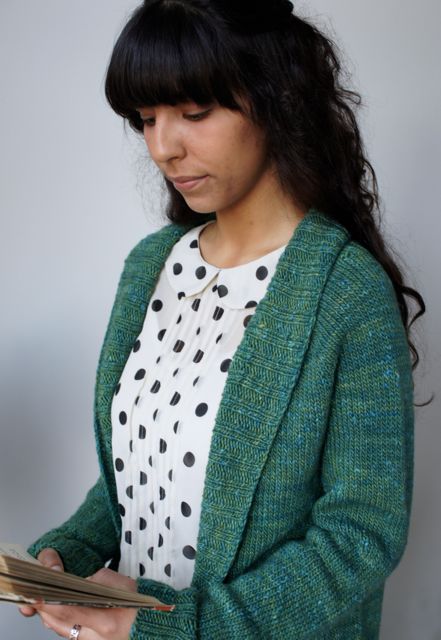
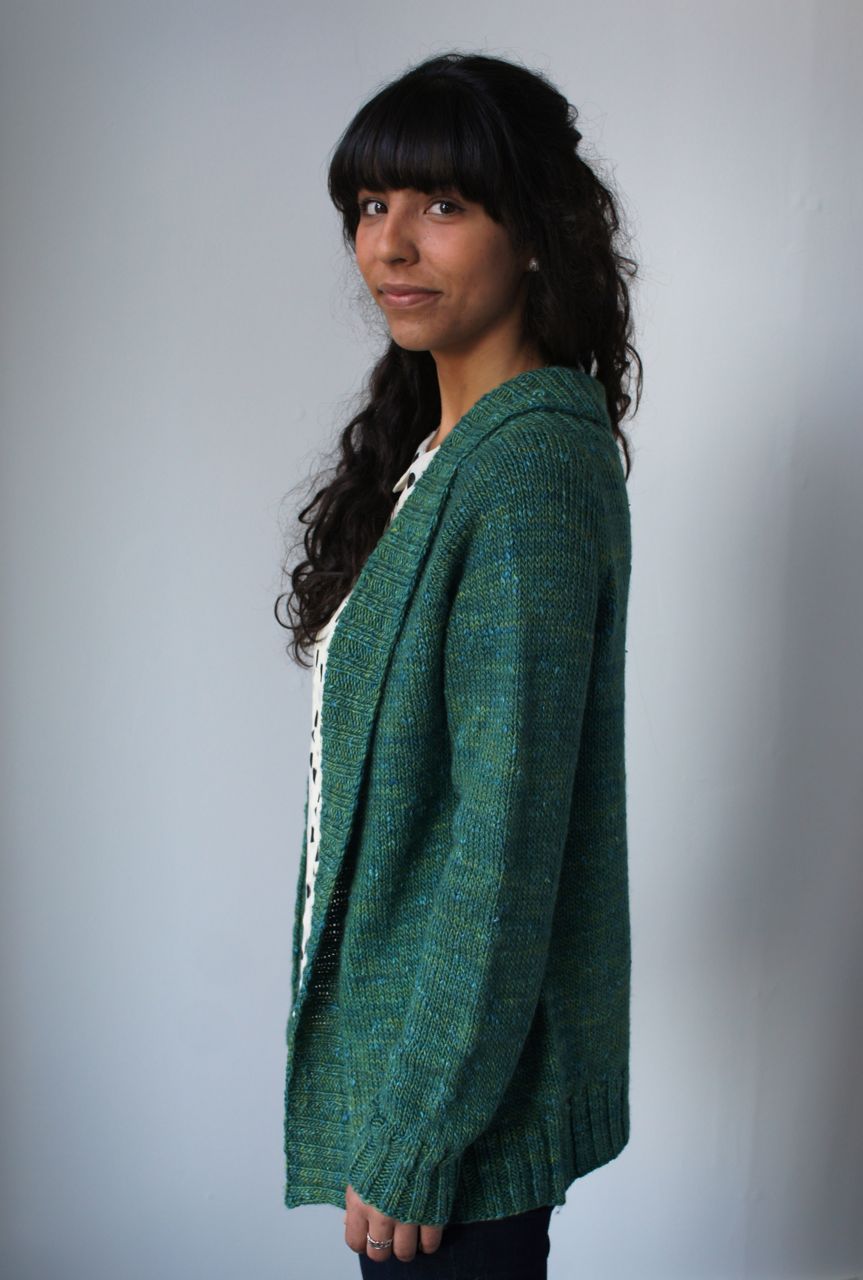
As with many Knitbot designs, Rosemont is a top down raglan.   It is a compound raglan, which means that increase rows are worked at a variety of intervals, versus being worked exlusively every other round.  This gives the raglan line a nice curve that is closer to a traditional armhole versus the straight angled line you get when you work increases every other row.  This is on top of the fact that you are shaping the neckline AT THE SAME TIME.  So at first glance there is a lot going on.  

Kate has done an awesome job spelling out what's going on line by line HERE.  If you're working on this project it's definitely worth a read through.

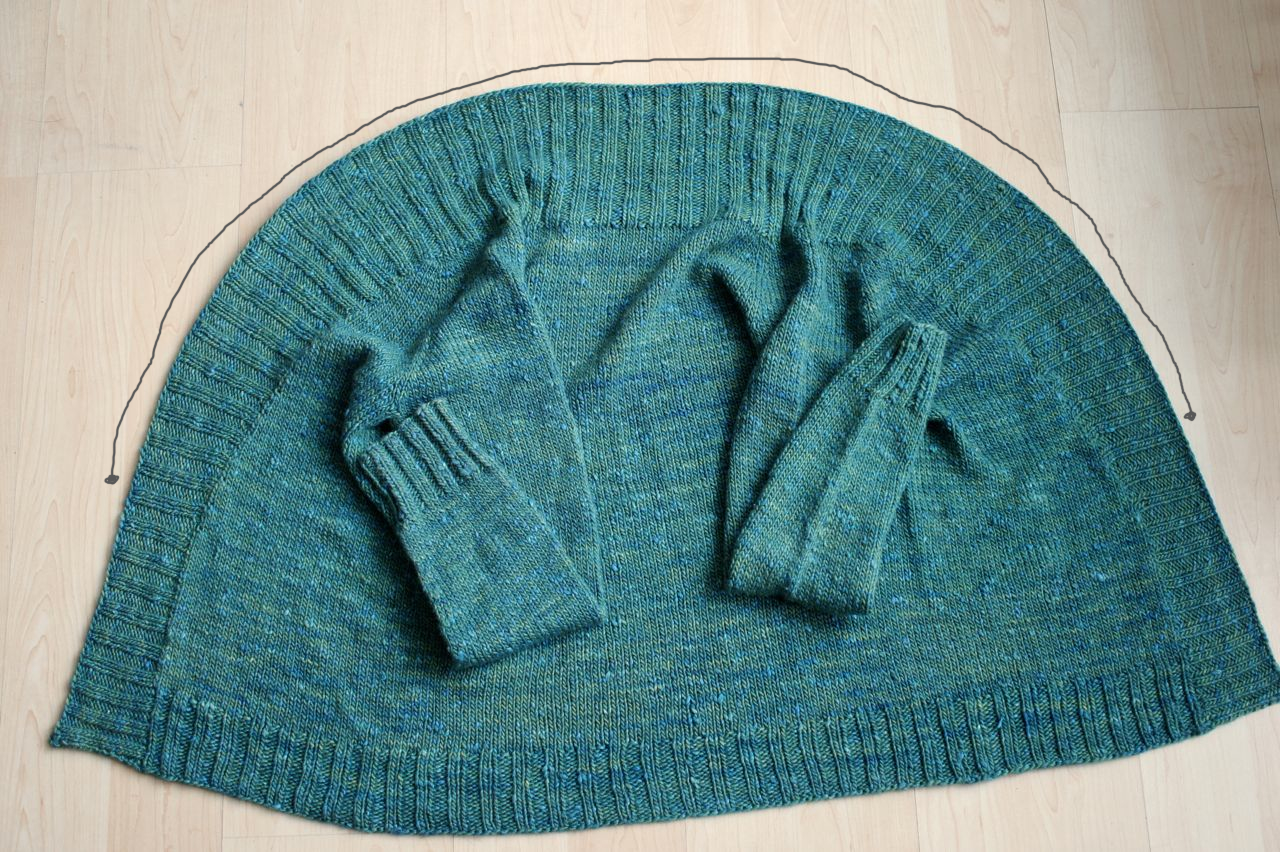
Another thing you might consider doing is using some graph paper (though any paper will do) and charting out a visual of what you'll be doing.  Then you can check off rows as you work them.  For more on this, you can listen to episode 3 of Knit.fm where Pam and I talk about managing the instructions AT THE SAME TIME.   

photo (6).JPG

Join the Rosemont KAL group to participate in more discussion around this pattern!

Rosemont: a closer look

Now that many of you have Rosemont Cardigan in your hot little hands, let's take a closer look at it's construction.

Rosemont is a top down raglan cardigan.  The top of the sleeve cap is wider than many of my raglan sweaters, contributing to a relaxed, easy fit.  Raglan increases and neck increase are worked at the same time.  Once you divide the sleeves from the body, you continue increasing for the neck.  You're creating a very deep v along which you will later pick up and knit your shawl collar.

Speaking of picking up your collar, the shawl collar is shaped using SHORT ROWS.  If this is your first time working a short row, never fear.  It's not hard.  And once you gain some experience with them you realize what an awesome shaping tool they can be!

It may help if you visualize what you will be doing.  Here is the cardigan laid flat for your inspection.  Note in the bottom photo I've marked a large section of the collar.  You can see that this part of the collar is wider than the bottom sections.  This is achieved by knitting back and forth more times within this top section than over the bottom sections.  You're able to smoothly accomplish this by working short rows.

In the near future I plan to have a short row video added to my tutorial section.  In the mean time, here it is spelled out:

In the instance of a shawl collar, a setup row has you place two markers that will be your jumping off points for the short rows.  You'll work progressively further from the two markers until the collar is as wide as we want it at it's widest point.

A sample short row reads like this:

(RS): Work in ribbing to marker, slip marker, work in ribbing for 5 sts, w&t.

Okay, what's this w&t?  It's short for wrap and turn.  Here's how you do it:

When your RS is facing: with yarn in front, slip the next stitch knitwise from the left needle to the right needle. Move yarn to the back. Slip stitch back from right needle to left needle. Turn work. One stitch has now been wrapped.

When your WS is facing: with yarn in back, slip the next stitch purlwise from left to right needle. Move yarn to the front. Slip stitch back from right needle to left needle. Turn work. One stitch has been wrapped.

Does that make sense?  By wrapping stitches before you turn your work mid row, you're keeping things nice and tidy.  If you turned your work mid row without wrapping stitches you'd have little holes all through your collar, no good!

Let's read a few more short rows together, picking up where we left off above:

Next row (WS): Work in ribbing to m, sm, work in ribbing for 5 sts, picking up wrap and working it together with wrapped stitch, w&t.

Next row (RS): Work in ribbing to m, sm, work in ribbing to m, sm, work in ribbing to 4 sts past previous wrap, picking up wrap and working it together with wrapped stitch, w&t.

Okay, here's the other piece that needs to be explained: picking up the wrap and working it together with the wrapped stitch.

As you reach stitches that were wrapped on the previous row, slip the wrap onto the needles and either knit the wrap together or purl the wrap together with the stitch it is wrapped around. 

Here's a quick sketch of what you're actually doing.

DSC06629.jpg

Does anyone have any questions?  Do any short row enthusiasts have other tips to share? 

Introducing Rosemont Cardigan

What a harsh winter we've had here in New England.  Snow, yes, as we expect, but COLD.  So very cold.  And grey.  With great pleasure I release a new cardigan pattern today in a most refreshing shade of green.  Feast your eyes!

DSC06564.jpg

This design was inspired by the more tailored shawl collared cardigan by Kate Gagnon Osborn of Kelbourne Woolens, the Fable Cardigan.  She suggested I design an open front, top down raglan shawl collared cardigan.  I realized, YES, I should!  The Knitbot line was missing a shawl collared sweater.  I love the comfort factor of this design.  I was thinking of it as a perfect cardigan for the brief January thaw we experienced last week.  Now it's 10 degrees outside again, and I realize it's well suited for for the frigid days, too!  

Stay tuned for more details on this cardigan, including a KAL that will be hosted by Kelbourne Woolens!

Pattern specs:

finished measurements

34 (36.75, 39.5, 42.5, 46, 49, 51.75, 54.5, 57.5, 61.25, 63)" / 86.5 (93.5, 100.5, 108, 117, 124.5, 131.5, 138.5, 146, 155.5, 160) cm at bust

Sample shown in 36.75" / 93.5cm with 3" / 7.5 cm of positive ease.

yarn 

11 (12, 13, 14, 15, 17, 18, 19, 20, 21, 22) skeins The Fibre Company Terra in Nettle or 1050 (1140, 1250, 1340, 1450, 1600, 1685, 1820, 1910, 2050, 2160) yards / 960 (1042, 1142, 1225, 1325, 1463, 1540, 1664, 1746, 1874, 1975) meters of worsted weight yarn.

needles

US 8 / 5.0mm

- 32" circular needle

- set of 4 double-pointed needles (dpns)

notions

Stitch markers, stitch holders or waste yarn, tapestry needle

gauge 

17 sts and 26 rows = 4” / 10 cm in St st