Now that many of you have Rosemont Cardigan in your hot little hands, let's take a closer look at it's construction.
Rosemont is a top down raglan cardigan. The top of the sleeve cap is wider than many of my raglan sweaters, contributing to a relaxed, easy fit. Raglan increases and neck increase are worked at the same time. Once you divide the sleeves from the body, you continue increasing for the neck. You're creating a very deep v along which you will later pick up and knit your shawl collar.
Speaking of picking up your collar, the shawl collar is shaped using SHORT ROWS. If this is your first time working a short row, never fear. It's not hard. And once you gain some experience with them you realize what an awesome shaping tool they can be!
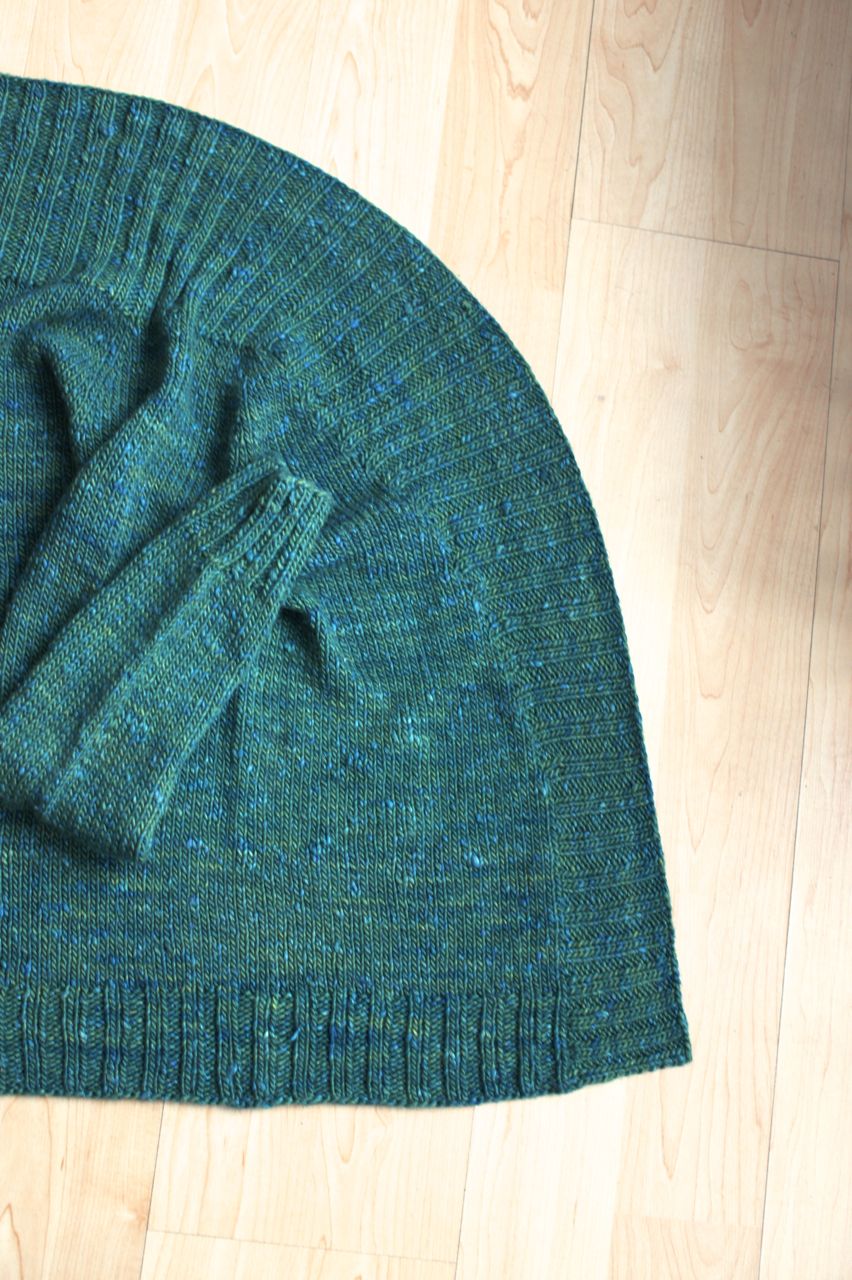
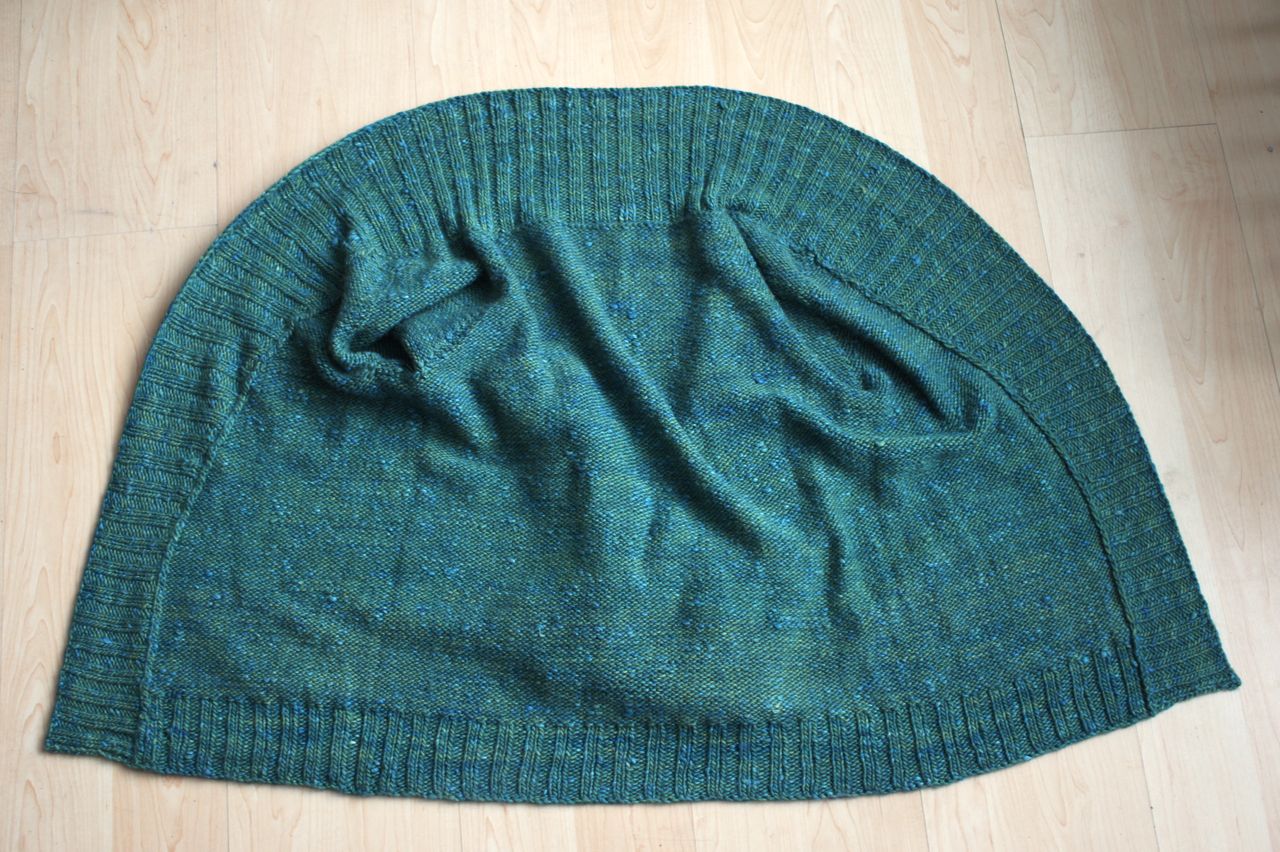
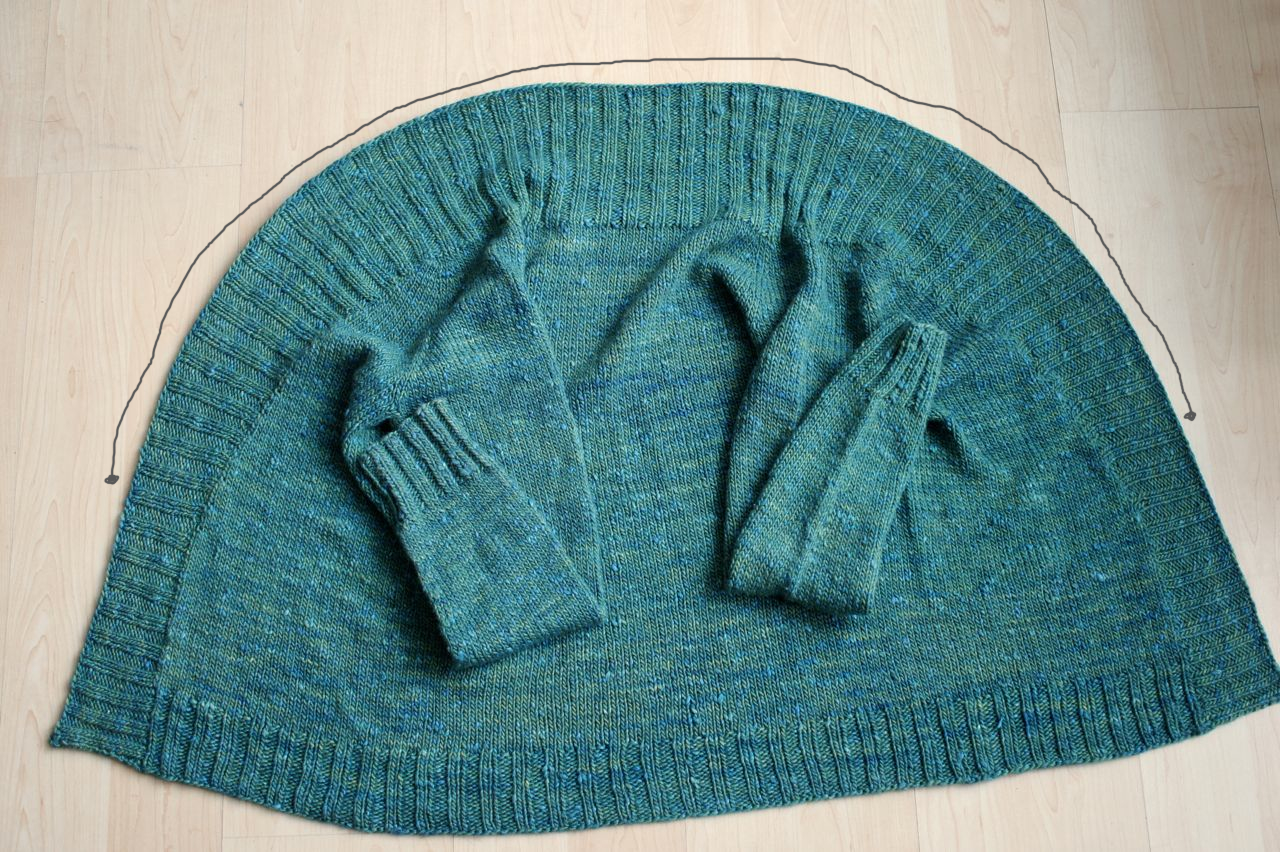
It may help if you visualize what you will be doing. Here is the cardigan laid flat for your inspection. Note in the bottom photo I've marked a large section of the collar. You can see that this part of the collar is wider than the bottom sections. This is achieved by knitting back and forth more times within this top section than over the bottom sections. You're able to smoothly accomplish this by working short rows.
In the near future I plan to have a short row video added to my tutorial section. In the mean time, here it is spelled out:
In the instance of a shawl collar, a setup row has you place two markers that will be your jumping off points for the short rows. You'll work progressively further from the two markers until the collar is as wide as we want it at it's widest point.
A sample short row reads like this:
(RS): Work in ribbing to marker, slip marker, work in ribbing for 5 sts, w&t.
Okay, what's this w&t? It's short for wrap and turn. Here's how you do it:
When your RS is facing: with yarn in front, slip the next stitch knitwise from the left needle to the right needle. Move yarn to the back. Slip stitch back from right needle to left needle. Turn work. One stitch has now been wrapped.
When your WS is facing: with yarn in back, slip the next stitch purlwise from left to right needle. Move yarn to the front. Slip stitch back from right needle to left needle. Turn work. One stitch has been wrapped.
Does that make sense? By wrapping stitches before you turn your work mid row, you're keeping things nice and tidy. If you turned your work mid row without wrapping stitches you'd have little holes all through your collar, no good!
Let's read a few more short rows together, picking up where we left off above:
Next row (WS): Work in ribbing to m, sm, work in ribbing for 5 sts, picking up wrap and working it together with wrapped stitch, w&t.
Next row (RS): Work in ribbing to m, sm, work in ribbing to m, sm, work in ribbing to 4 sts past previous wrap, picking up wrap and working it together with wrapped stitch, w&t.
Okay, here's the other piece that needs to be explained: picking up the wrap and working it together with the wrapped stitch.
As you reach stitches that were wrapped on the previous row, slip the wrap onto the needles and either knit the wrap together or purl the wrap together with the stitch it is wrapped around.
Here's a quick sketch of what you're actually doing.

Does anyone have any questions? Do any short row enthusiasts have other tips to share?