In the near future I plan to have a short row video added to my tutorial section. In the mean time, here it is spelled out:
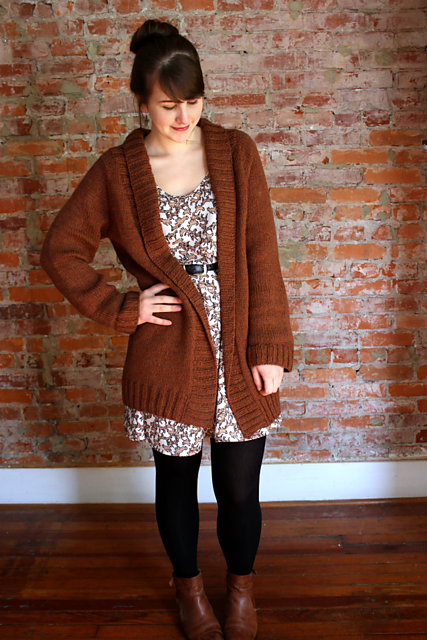
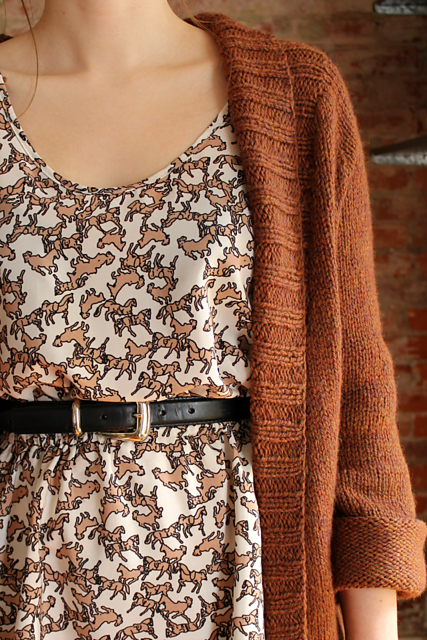
In the instance of a shawl collar, a setup row has you place two markers that will be your jumping off points for the short rows. You'll work progressively further from the two markers until the collar is as wide as we want it at it's widest point.
A sample short row reads like this:
(RS): Work in ribbing to marker, slip marker, work in ribbing for 5 sts, w&t.
Okay, what's this w&t? It's short for wrap and turn. Here's how you do it:
When your RS is facing: with yarn in front, slip the next stitch knitwise from the left needle to the right needle. Move yarn to the back. Slip stitch back from right needle to left needle. Turn work. One stitch has now been wrapped.
When your WS is facing: with yarn in back, slip the next stitch purlwise from left to right needle. Move yarn to the front. Slip stitch back from right needle to left needle. Turn work. One stitch has been wrapped.
Does that make sense? By wrapping stitches before you turn your work mid row, you're keeping things nice and tidy. If you turned your work mid row without wrapping stitches you'd have little holes all through your collar, no good!
Let's read a few more short rows together, picking up where we left off above:
Next row (WS): Work in ribbing to m, sm, work in ribbing for 5 sts, picking up wrap and working it together with wrapped stitch, w&t.
Next row (RS): Work in ribbing to m, sm, work in ribbing to m, sm, work in ribbing to 4 sts past previous wrap, picking up wrap and working it together with wrapped stitch, w&t.
Okay, here's the other piece that needs to be explained: picking up the wrap and working it together with the wrapped stitch.
As you reach stitches that were wrapped on the previous row, slip the wrap onto the needles and either knit the wrap together or purl the wrap together with the stitch it is wrapped around.
Here's a quick sketch of what you're actually doing.